Introduction
Castor oil packs are a natural remedy renowned for their healing properties, particularly for pain relief and detoxification. Making a castor oil pack at home is simple and can be an effective addition to your wellness routine. In this guide, we will provide step-by-step instructions for how to make castor oil packs and explore their benefits.
Before we dive into the process, let's discuss the healing benefits of a castor oil pack:
- Skin Health: Castor oil is excellent for hydrating the skin and reducing inflammation.
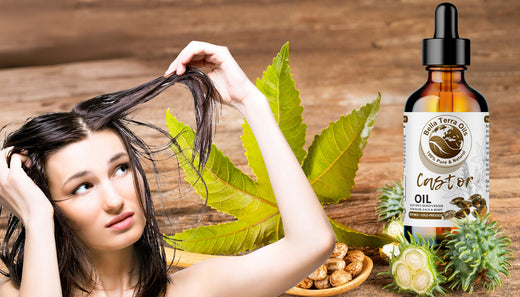
- Promotes Hair Growth: Castor oil is rich in ricinoleic acid, which helps stimulate blood circulation to the scalp, promoting hair growth and strengthening hair follicles.
- Prevents Acne: Its antibacterial properties help prevent acne by inhibiting the growth of acne-causing bacteria. Additionally, it is non-comedogenic, meaning it won't clog pores.
Step-by-Step Guide to Making a Castor Oil Pack
Here's a step-by-step guide to making a castor oil pack:
-
Gather Your Supplies:
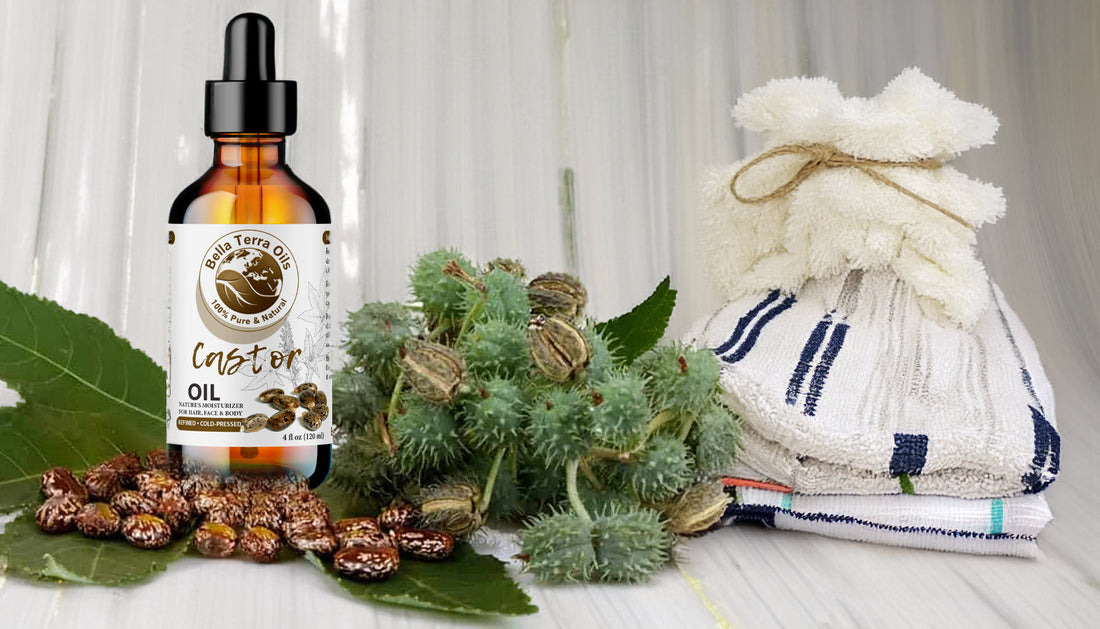
- Castor Oil: Ensure you use pure, cold-pressed castor oil for maximum benefits.
- Cotton or Wool Flannel: This will be used to soak up the castor oil.
- Plastic Wrap: To cover the flannel and hold it in place.
- Heating Pad or Hot Water Bottle: For applying heat to the area.
- Towel: To protect surfaces and catch any drips.
-
Prepare the Flannel:
- Cut the cotton or wool flannel into a size that will cover the area you want to treat.
- Soak the flannel in castor oil until it is saturated but not dripping.
-
Apply the Castor Oil Pack:
- Place the oil-soaked flannel on the desired area of your body (e.g., abdomen, joints).
- Cover the flannel with plastic wrap to hold it in place and prevent staining your clothes or furniture.
-
Apply Heat:
- Place a heating pad or hot water bottle on top of the plastic-wrapped flannel.
- Allow the pack to remain in place for about 45-60 minutes. Use this time to relax.
-
Clean Up:
- After removing the pack, clean the treated area with a mixture of water and baking soda to remove any residual oil.
- Store the used flannel in a ziplock bag or container for future use. It can be reused several times before needing to be replaced.
-
Frequency of Use:
- For best results, use the castor oil pack 3-4 times a week. Consistency is key to experiencing the full benefits.
Tips for Using Castor Oil Packs
- Stay Hydrated: Drink plenty of water before and after using the castor oil pack to help flush out toxins.
- Comfortable Environment: Ensure you are in a comfortable and relaxed environment during the treatment.
- Consult a Professional: If you have any health concerns or conditions, consult a healthcare professional before using castor oil packs. This advice is part of understanding how to use a castor oil pack effectively and safely.
Conclusion
Making a castor oil pack at home is a straightforward process that can offer significant haircare and skincare benefits. By following these DIY castor oil pack instructions, you can easily incorporate this natural remedy into your wellness routine, helping you understand what are castor oil packs and their benefits for hair and skin health.